At Cotterill Civils we supply a wide variety and type of channel drains – but what are they and how are they installed?
Contents
What are channel drains?
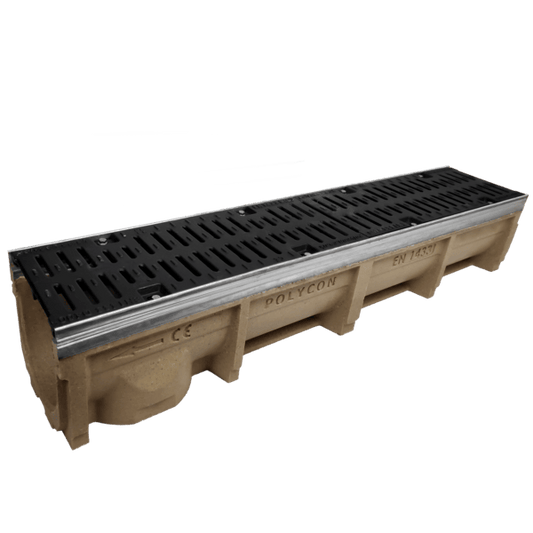
Channel drains, also known as ACO, trench drain, linear channels or drainage channels, are specifically designed to provide efficient surface water management, particularly when it comes to non-porous surfaces. They ensure heavy downpours are dealt with effectively and timely.
With a grating on top to prevent debris blocking the channel drain, channel drains tend to be trough shaped. They can be used in many locations, such as garages, patios and driveways, as well as for bigger commercial uses, such as parks, airports and swimming pools.
What are the different types of channel drains?
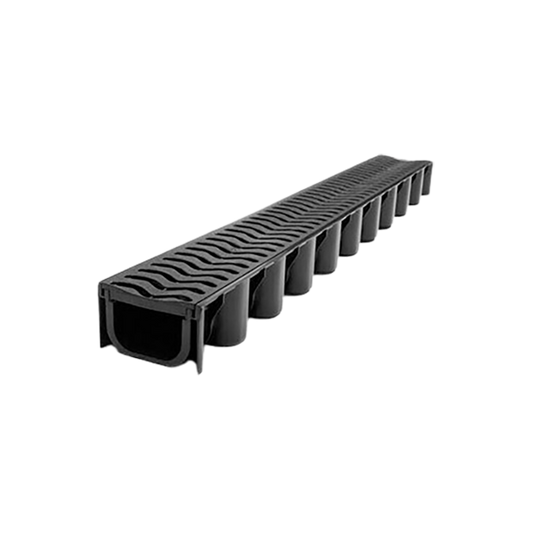
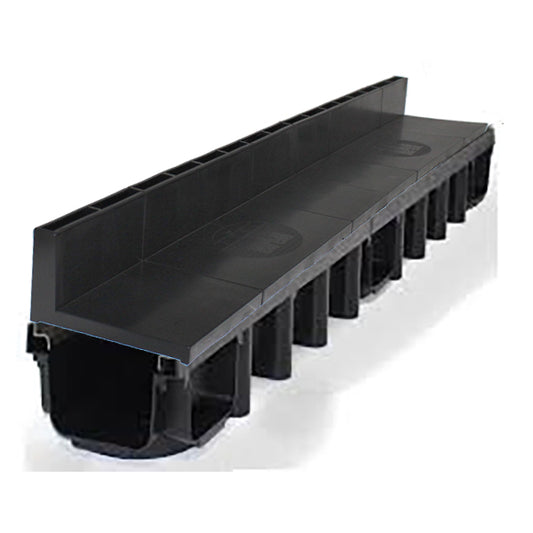
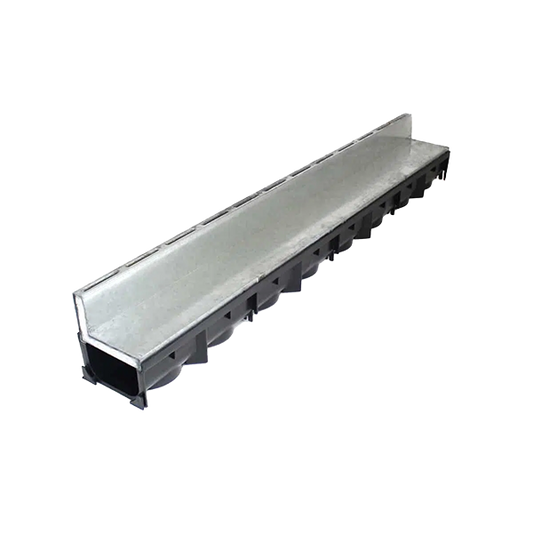
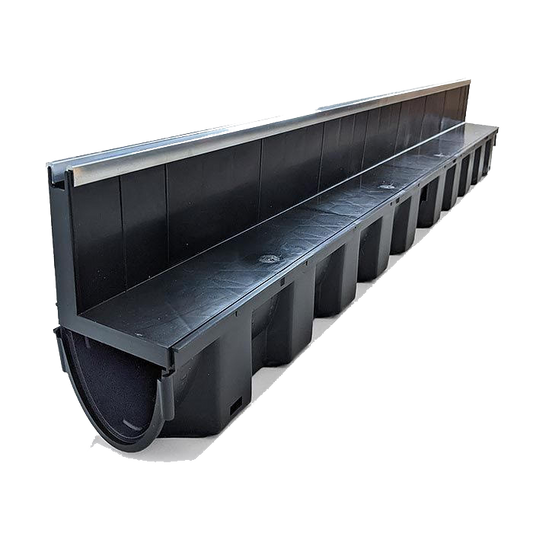
Plastic channel drains
Plastic, or polypropylene, is a popular material for channel drains because it’s lightweight and durable. This allows for easy transportation and installation – perfect for gardens landscaping projects and driveways.
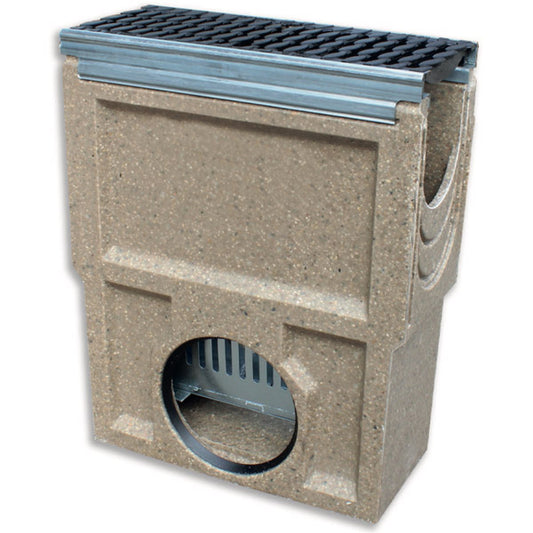
Concrete channel drains
For higher strength and chemical resistant channel drains, opt for concrete channel drain systems. They provide extra stability in those areas and allow for efficient drainage.
What are the weight load classes of channel drain?
When choosing the best channel drainage for your system, the weight load class should be considered – there are different weight classes of channel drainage and you’ll need to ensure the channel drainage is suitable for the installation area.
The different classes are:
Class A15 channel drainage
If a channel drainage product is class A15 rated, it is suitable for pedestrian traffic only, with a maximum weight load of 1.5 tonnes.
Class B125 channel drainage
B125 channel drains are suitable for areas where the maximum weight load is up to 12.5 tonnes. B125 channel drainage is most commonly used in domestic driveways, larger patios and thresholds.
Class C250 channel drainage
C250 channel drains are suitable for applications with a maximum weight load of 25 tonnes. These channel drains are suitable for small private car parks, roads with light traffic, and other areas, they are not suitable for even infrequent lorry use.
Class D400 channel drainage
D400 channel drains can withstand a maximum of 40 tonnes, making them the perfect channel drainage for main roads, highways and public car parks.
Class E600 channel drainage
Channel drains that are classed as E600 are able to withstand a maximum weight load of 60 tonnes. These are most commonly manufactured from reinforced concrete, and are used in industrial areas such as loading bays, factories and warehouses.
Class F900 channel drainage
Class F900 channel drains are the strongest channel drainage, withstanding a maximum weight of 90 tonnes,These are most commonly used in large scale and heavy duty industrial products, such as airports, docks and other areas that experience specific heavy machinery and transport.
How to install a channel drain?
Here’s a simple step-by-step guide to installing channel drain:
Preparation and planning
Firstly, you need to decide where you want to install your channel drainage – it will need to discharge so this has to be taken into account. Most channel drains discharge into the main drainage via a pipe union end cap, or a bottom outlet. Most channel drainage products do have pop out sections that fit a regular drainage pipe.
Excavate a trench
Then you will need to dig a trench out of the ground, deep enough to ensure the channel drainage fits and reaches the surface. It needs to be 2mm below the surrounding flooring but with an extra 1000mm below allowing for concrete application.
Drainage Channel Assembly
Ensure you have the correct lengths of channel drainage, along with any components such as a silt trap and the pre-formed outlet has been cut out. As well as making sure all required end caps have been fitted before assembling the channels.
Concrete
Add a layer of 100mm concrete to the bottom of the trench.
Lay Channel Drain
Lower the channel drainage system into the prepared trench, ensuring the outlet connects, and seals to the drain pipe. Then use a mallet to gently press the channel drainage into the trench, the backfill or add concrete around the channel.
Please note these are extremely basic descriptions of the steps required to install channel drainage properly. Site conditions may change the order or steps themselves. Considerable experience and skill is required to lay channel drainage properly and should only be attempted by a trained and competent person.
How can we help?
At Cotterill Drainage, we supply a wide range of surface water solutions, including channel drain and slot drain.
Our team of specialists can provide you with expert advice. Call us today on 0121 351 3230.